Leo Fender invented the solid body electric guitar. Eventually, his invention became the legendary Fender Telecaster®. This basic guitar: withstood the test of time; exudes versatility; sounds great; and most importantly -- proves fun to play.
I tried out a number of Fender Telecasters at local music stores and 1 stood out. A blue American Special Telecaster®. This particular guitar sounded nice acoustically and the neck felt great under my fingers. I play jazz fusion, or clean-only, jazz chord style blues on mostly the front pick up.
While rolling the guitar tone knob back about 50% provided a decent jazz tone, the 60 hertz hum plus the front pick's thin sound left me wanting to place humbucking pickups in this axe.
I 've replaced a lot of pickups over the decades and the aftermarket choices today seems incredible. Still, too, I tend to go with what I know. I bought a pair of Seymour Duncan hot rails for tele pups and mounted them.
Click for a link to those pickups on the Seymour Duncan web site.
.
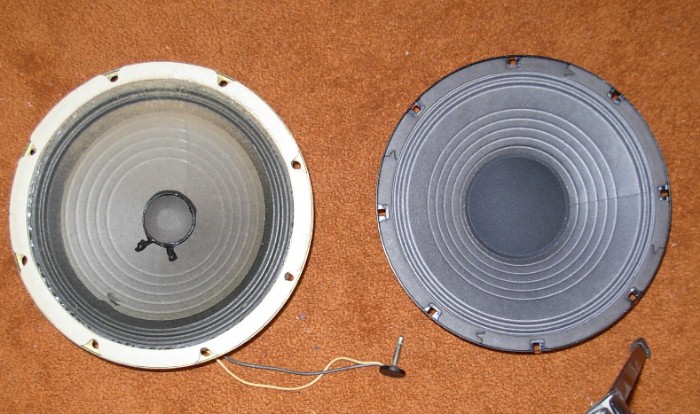
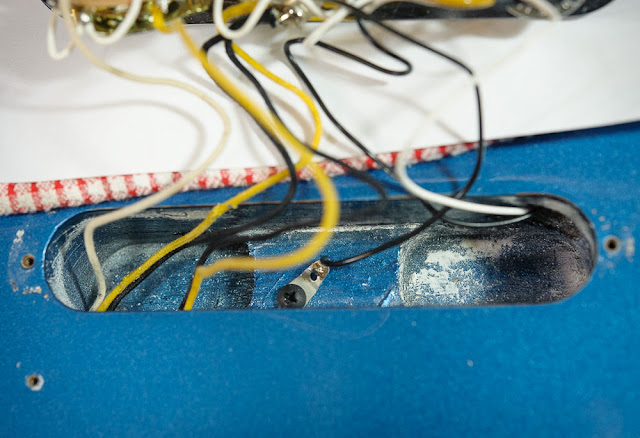
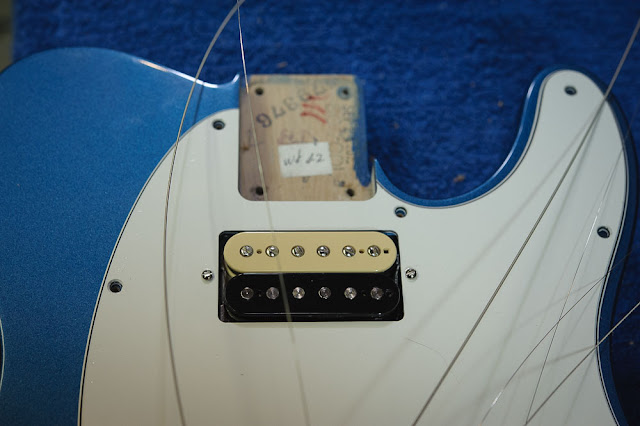
Above — The stock Telecaster® pickup just sitting in its cavity. The protective cellophane still lies in-situ.
This guitar came stock with Texas Special™ Single-Coil Tele pickups. They sound good and would likely work well for the classic rock, blues and country player. When I removed the pick guard, I felt surprised to see the guitar body was already routed for a full size humbucker pickup, although the routing seemed more shallow than standard.
Above — The new Duncan humbucker sitting in the neck cavity.
Above — Alternate view of Duncan humbucker just sitting in the neck cavity. I removed the bridge pickup. You can see the black ground wire I added to ground the bridge since the Duncan pickup lacks the classic Telecaster brass grounding backing plate used with stock Tele single coil pickups.
Above — The front pickup screwed into the guitar wood. I lacked the hardware to mount it in the pickguard and so just screwed it to the guitar. In my 22 fret telecaster, in order to put the pick guard back on, I had to remove the neck. I also had to sand my pickguard's front pickup slot a little to better fit the pickup width. You can see, that an early attempt to place the pickup in the pickguard shaved off a little of the tape that covers the pickup front.
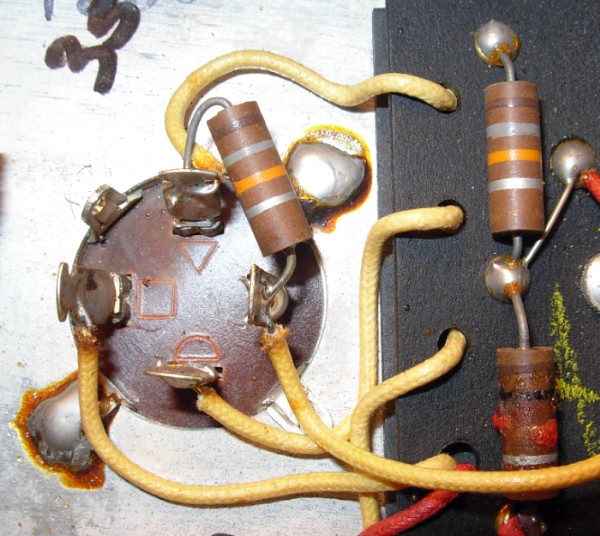
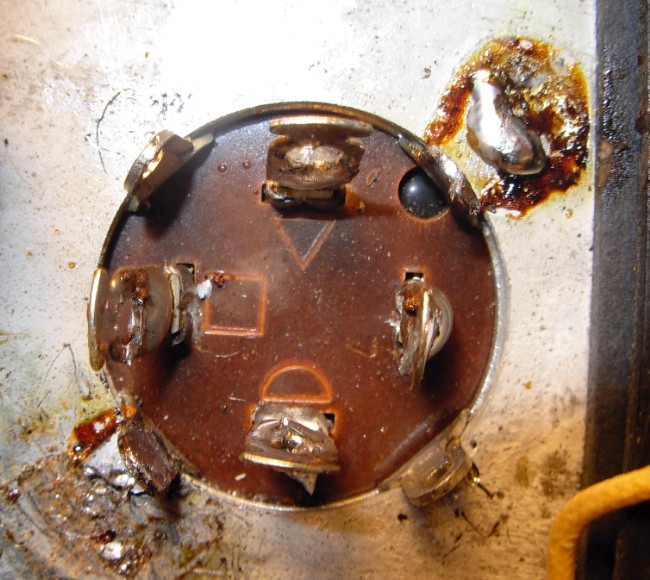
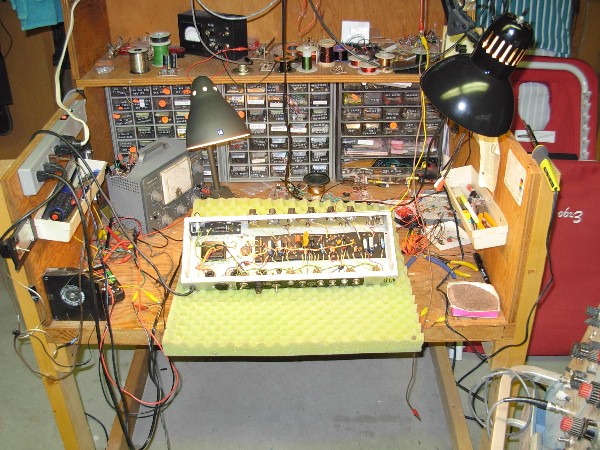
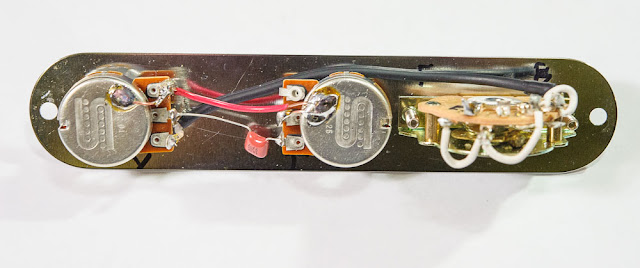
Above — To unsolder and solder new pickups, the tele's control plate gets removed and set on a towel to avoid scratching the guitar.


Above 3 photographs — Control panel, switch, and the deep control cavity. Wiring guitars seems so simple compared to the microwave circuitry I've toiled with lately.
I also changed the stock Fender tone circuit to my preferred tone circuit: that used by Gibson® guitars in the 1950s.

Above — The bridge pickup mounted in the vintage style Fender bridge.

Above — Both pickups installed and the bridge screwed in and grounded with my new ground wire. I then temporarily set the pickguard and neck on top plus fitted the E string shown to determine the ideal front pickup height. The tele rails pickups feature a strong ceramic magnet so I opted to keep the front pickup low to avoid decreasing string vibration. Once the neck pickup height seemed correct, I re-attached the neck and, screwed down the pickguard.
I played this guitar for about 2 weeks, and while I loved the sound of the bridge pickup, I only
liked the neck pickup for my particular playing style. So, then, I ordered my all-time favorite neck pickup: The Duncan 59.
Click for link.
I ordered a new aftermarket Tele pickguard cut for a pickguard mounted humbucker and waited for parts to arrive.
Further, I got some Bourns 500K panel potentiometers specified and distributed by Seymour Duncan and their dealers.
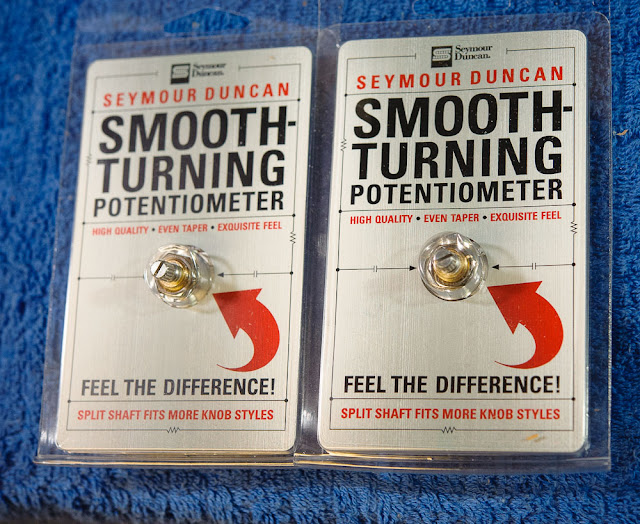
Above — (Bourns) Seymour Duncan pots that turn like butter. For me, the most important determinants in the guitar/amp system = the guitar's volume and tone pots.

Above — A rear view of the Duncan 59 neck humbucker. It gives that old PAF sound with some tweaks: slightly scooped mids + peaked highs on an ALNICO ( aluminum - nickel - cobalt ) 5 magnet. Sweetness indeed. I measured the pickups DC resistance at 7.56K - right on spec.
Your DMM comes in handy for guitar wiring -- and can help you clearly establish correct grounding, plus help you detect short circuits.

Above — The 59 pickup mounted in a new aftermarket pick guard.

Above — Because the factory carved front pickup cavity loomed shallow, I got in there with a spade bit and created room for the Duncan 59 pickup mounting plate and screws.

Above — Testing to ensure that my spade drill bit holes were deep enough to allow the pickup hardware to clear and not bottom out. After a couple of gentle drillings, It fit perfectly.

Above — Time to bolt on the neck and secure the new pickguard.
Above — I soldered the control panel in reverse fashion. I prefer the switch at the back and pots up front. This gives easier access to the volume pot since I employ a lot of volume swells and mostly just play on the front pick up so the switch is much less important. I oriented the switch so it points to the chosen pickup per normal.
I ran (black) shielded RG-174 wire to connect the switch output to the 500K volume pot. The tone capacitor value = 0.018 µF per my personal preference.

Above — You can see the reversed Tele control plate well in the photo. I'll enjoy boosted access to the volume pot.
Treble Bleed Network
As you roll down the volume pot, the sound grows muffled due to low-pass filtration of the pick up(s) output signal. Some builders/players place a "treble bleed" circuit across the volume pot's high impedance lug and the center wiper to restore high frequency at lower gain settings. If you search this topic you'll find a large number of websites and videos showing simple C, plus parallel, or series R C networks to help solve the loss of treble that occurs as the volume pot's resistance gets increased.
Above — To audibly test various treble bypass circuits on a Tele, 1 way is to solder in a couple of wires with the control plate gently screwed down. Then you can connect your treble bypass network to find your favorite. Here, I've got a 250K pot and a parallel 1 nF capacitor attached to my wires. It's important to test your "bleeder network" with your normal patch cord, pedal board and amp(s) since the entire signal chain exerts reactance that may skew your results.
Once you find your magic C or R C network, then remove the wires and solder these part(s) to the volume pot and you're done.
Above — My final guitar schematic after many listening tests. For treble bypass, I chose a 270 pF NP0 ceramic bypass capacitor. Some networks ( especially some parallel R C combinations ) can wreck the taper of your volume pot. As a player who swells the volume knob frequently, I prefer a simple bypass capacitor as shown since this modification often skews the volume potentiometer taper the least and makes me happy.

Above — Guitar strung and tuned. I'm not into hyperbole: it sounds great and noise free. The pots turn easily and I've got a new toy to enjoy.
QRP — Postdata Addition of a Hipshot Bridge on January 13, 2017
In January 2017, I placed an aftermarket bridge from
Hipshot
Above — Hipshot's compensated stainless Telecaster replacement bridge overcomes the 2 strings per saddle intonation glitch in the vintage bridge. Further, it lacks the Leo Fender bridge lip that may boost your ability to finger pick and palm mute. I love not having that metal lip to contend with.
Above — Installation proves easy. Remove your strings, then unscrew the bridge pickup and old bridge. Here, I've placed the rubber pickup spacers over the 2 pickup mounting bolts.
Above — Everything installed, I hooked up a strobe tuner. Now each string pair lies perfectly intonated thanks to the compensated bridge. I saw a compensated saddle bridge on 1 stock, higher end, American-built Fender Telecaster in a local shop this Winter.
I tested the action at a few settings before properly setting the guitar up for my normal flat-wound strings.
Above — After intonating the saddles + setting up the action came the best part --- the playing test. Lovely bridge and intonation. Final guitar photo.
Above — To mellow out my Tele for jazz-fusion and clean jazz-blues, I installed my favorite flat wound strings. In stock, I've got this and the .011 to 50 set; both with a wound G string.
— UPDATE — October 2018
I further modified my Telecaster.
Above —The control plate remove and photographed with a new on-off-on switch installed along with 3 treble bleed capacitors choices: 0, 270 pF or 1000 pF.
Above — Schematic of the new mod. I can now choose between 3 volume knob treble bleed capacitor settings, 270 pF, none, or 1000 pF. The 2 capacitor treble bleeds only come into effect when the volume pot is turned down and this allow subtle tonal differences. I only use the treble bleed switch with the neck humbucking pickup.. With the volume turned down and the 270 pF capacitor engaged, I get a thin almost single coil sound. With the switch set to off (no connection), volume pot swells (usually with added digital delay) sound dramatic.
I apply vintage style wiring in all my guitars. [ the tone control potentiometer gets connected to the center wiper of the volume potentiometer ].

Above —A photo of the new control panel with the switch set to center which is off or "no connection".
Above — I also changed the bridge pickup to a Seymour Duncan Alnico 2 Pro Tele pup.
Above — A good view of the new bridge pickup. The Alnico 2 magnet removes some of the shrill high end heard with Alnico 5 bridge telecaster pickups. To my ears, this is 1 sweet sounding pickup.
— Update April 2019 —
Above — I replaced the humbucker pickup with a Gibson 57 Classic.
Above — The Gibson Classic 57 PAF style pickup came from my ES-175. I like the look that the pickup cover gives this guitar.
Above — This pickup really shines in the telecaster for jazz. Smooth, dark tones arise with the tone control set to roll off some of the signal's high frequency output.
— UPDATE — March 2021
Above — Humbucker pickup upgrade. I bought a Seymour Duncan Seth Lover Neck pickup and installed it in my telecaster. I like the unpotted sound, slightly scooped mids and hint of compression offered by this pickup. For me, it's a winner.
Above — Inductance measurement in Henries.
Above — DC resistance measurement. The measured values are close to those of the Seth Lover that's bolted into my ES-175.
Click for my Guitar Related Index